
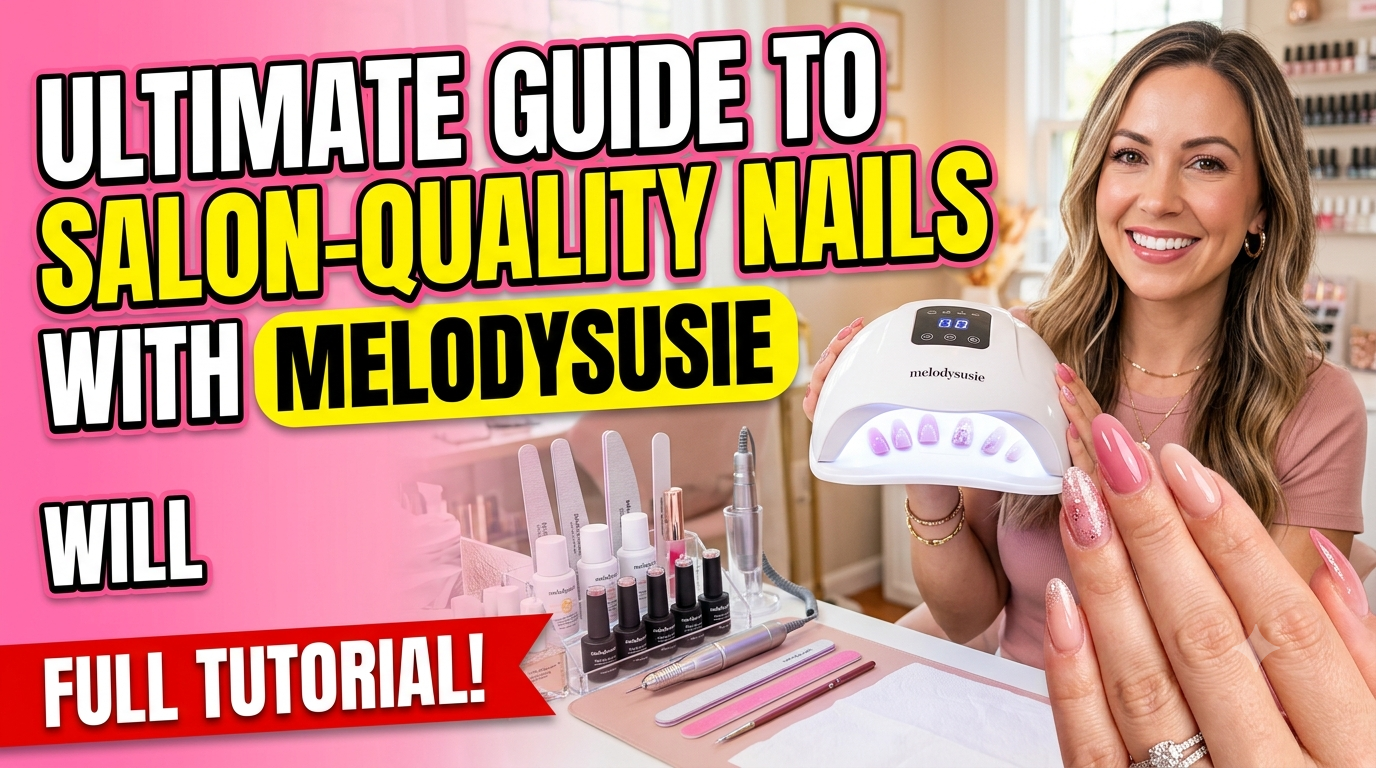
Discover how MelodySusie can help you create salon-quality nails from the comfort of your home. From powerful nail drills and precision drill bits to UV/LED nail lamps and professional manicure accessories, MelodySusie offers a range of tools designed for beginners, DIY nail enthusiasts, and experienced nail artists. Learn how to choose the right equipment, prepare your nails, apply gel polish, cure it properly, and maintain your tools for long-lasting, polished results. Whether you’re creating a simple manicure or experimenting with advanced nail designs, this guide explains how to get the most from your MelodySusie nail care setup.
Table of Contents
- Why MelodySusie Is Worth Considering for At-Home Nail Care
- Building Your MelodySusie Nail Kit
- Selecting a UV/LED Nail Lamp
- Preparing Your Nails for a Salon-Quality Finish
- How to Safely Use a MelodySusie Nail Drill
- Applying Gel Polish Like a Professional
- Creating Different Salon-Style Nail Looks at Home
- Nail Drill Maintenance and Cleaning
- Common DIY Nail Mistakes to Avoid
- Building a Professional Home Nail Station
- Conclusion
- FAQs
Why MelodySusie Is Worth Considering for At-Home Nail Care
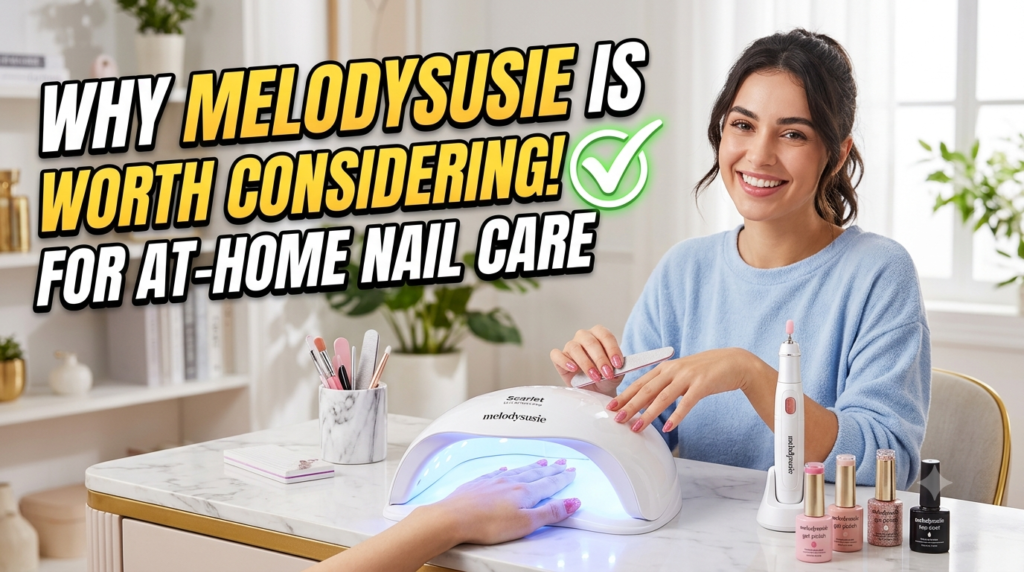
The appeal of MelodySusie is largely its breadth. Instead of focusing on one type of manicure equipment, the brand offers an ecosystem of tools designed to work across different stages of nail care. Its current catalog includes electric nail drills, UV/LED nail lamps, nail drill bits, gel polish, nail dust collectors, nail accessories, and even multifunctional manicure equipment. That matters when you are trying to build a home setup because your manicure becomes easier when your tools complement one another rather than forcing you to improvise at every stage. MelodySusie’s own at-home collection, for example, describes combinations of a nail drill and nail lamp as a beginner-friendly approach to prepping, shaping, and curing nails.
Another reason the brand attracts DIY nail enthusiasts is the range of experience levels it addresses. Its professional section specifically presents equipment for manicurists and nail technicians, while its broader catalog separates products by features such as rechargeable designs, pen-shaped drills, desktop drills, pedicure drills, and different operating speeds. A beginner does not necessarily need the most powerful machine available, and choosing equipment according to your actual skill level can make the learning curve much less intimidating. Think of a nail drill as a precision instrument rather than an ordinary file. The more control you have over speed, direction, pressure, and bit selection, the easier it becomes to work neatly instead of accidentally over-filing. That is why the best MelodySusie setup is not necessarily the biggest one; it is the one that gives you the control and functionality you can realistically use.
From Basic Manicure Tools to Professional Equipment
MelodySusie’s current selection demonstrates how broad the home-to-professional range has become. For example, its catalog includes the Scarlet SC320I 30,000RPM electric nail drill, the rechargeable Scamander SC320H 30,000RPM nail drill, and more advanced 35,000RPM models such as the SM320G. There are also compact options intended for people who want a simpler home manicure setup. This variety is useful because nail care is not a one-size-fits-all activity. Someone who mainly files natural nails and occasionally removes gel polish has very different requirements from a nail technician who works with acrylic, builder gel, or other enhancements every day.
When selecting your equipment, start with the services you actually want to perform. If your goal is simply to maintain natural nails, prioritize control, comfortable handling, and beginner-friendly operation. If you regularly create gel, acrylic, or extensions, a stronger drill with appropriate bits may make shaping and removal considerably more efficient. A lamp should also match the products you plan to use, and you should always follow the curing instructions supplied with the particular gel product rather than assuming that every formula behaves identically. MelodySusie’s lamp range currently includes full-hand, single-finger, rechargeable, cordless, and other configurations, giving users several ways to build their workstation.
Building Your MelodySusie Nail Kit
A good home manicure station does not need to look like a professional salon from day one. Start with the essentials: a nail file, cuticle tools, a suitable nail drill if you need one, appropriate drill bits, a UV/LED lamp for gel products, gel polish, lint-free wipes, cleanser recommended for your system, and products for cleaning and sanitizing your tools. Once you become comfortable, you can add conveniences such as a nail dust collector, storage system, manicure table lighting, or additional drill bits. MelodySusie’s current range includes nail dust collectors and manicure lighting alongside drills and lamps, which can help create a more organized workspace.
Your choice of drill should be based on control rather than simply chasing the highest RPM number. MelodySusie currently offers drills across several speed categories, including 10,000–25,000RPM and 30,000–40,000RPM, as well as different motor types and designs. For beginners, a machine with adjustable speed is particularly useful because low speeds allow you to practice movement without making the drill feel uncontrollable. You also want a comfortable handpiece. If the tool feels heavy, vibrates excessively, or makes your hand tense after a few minutes, precision work becomes harder. The goal is smooth movement, not brute force.
Choosing the Right Nail Drill
Choosing a MelodySusie nail drill starts with identifying what you want it to do. A rechargeable model can be convenient if you prefer a clean, cable-free workspace, while a corded desktop model may make sense if you work at one dedicated station. MelodySusie’s professional listings currently include both types; the Scarlet, for example, is a corded 30,000RPM model with variable speed and forward/reverse controls, while the Scamander is a rechargeable cordless model with a 30,000RPM maximum and similar directional and speed controls. These controls are more important to your day-to-day experience than the headline RPM alone.
For beginners, avoid the temptation to immediately operate at maximum speed. High speed does not automatically produce a better manicure. In fact, when you are learning, it can make small mistakes happen much faster. Practice holding the handpiece lightly, keeping the bit moving rather than parking it on one spot, and using the lowest practical speed for the job. Your drill should feel like a pencil that happens to rotate rather than a power tool you are fighting against. Once your movements become steady, you can gradually increase speed when the specific task and product call for it.
Understanding RPM and Speed Control
RPM means revolutions per minute, and it tells you how quickly the drill bit rotates. A higher maximum RPM gives experienced users more range, but the number should never be interpreted as a recommendation to work at that speed on natural nails. Different materials, bits, techniques, and tasks require different settings. MelodySusie’s educational resources specifically cover drill controls, including speed and direction, while its product categories distinguish drills by speed range.
The safest approach is to think about control first and speed second. Begin slowly, maintain a light touch, and keep the bit moving. Never treat the drill as a replacement for proper nail knowledge. If you feel heat, discomfort, burning, or unusual sensitivity, stop immediately and reassess your technique. Over-filing can thin the natural nail, so the goal should always be controlled preparation rather than removing as much material as possible. If you are uncertain about working on damaged, painful, infected, or otherwise abnormal nails, professional advice is a better choice than attempting to correct the problem with an electric file.
Selecting a UV/LED Nail Lamp
A quality lamp is one of the most important components of a gel manicure because the polish needs appropriate curing. MelodySusie’s current lamp catalog includes numerous UV/LED options, from compact lamps to full-hand designs and rechargeable models. Current examples include the EOS 9, P-PLUS30F, P-PLUS24, Aurora 4, and rechargeable P-PLUS30G, with listed prices varying by model and current promotions. Prices and availability can change, so treat the manufacturer’s current product page as the reference point when shopping.
The biggest mistake is assuming that curing is simply about using the highest wattage or the shortest possible time. Gel formulations can differ, and proper curing depends on the product, lamp compatibility, application thickness, and positioning. Follow the curing instructions for your gel system rather than creating your own timing formula. Apply thin, even coats and keep your fingers positioned correctly under the lamp so that the light reaches the intended surface. If the product instructions specify a particular lamp or curing time, follow those directions carefully. A beautiful color is not worth compromising proper curing.
Preparing Your Nails for a Salon-Quality Finish
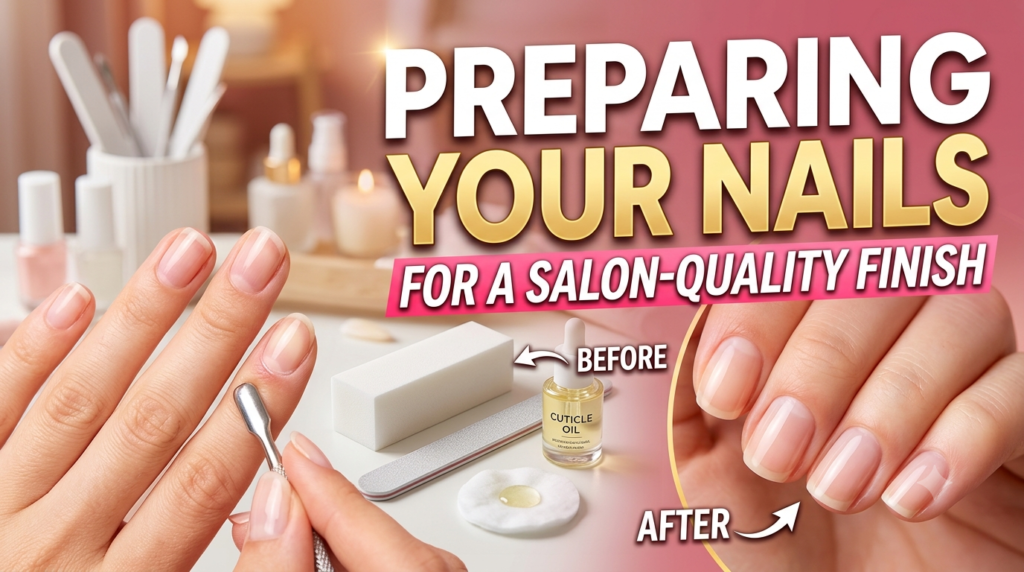
Preparation is where a salon-quality manicure is really won or lost. Before applying color, remove old polish, wash your hands, dry them thoroughly, and inspect each nail. Shape the free edge with a file, keeping your chosen shape consistent across all fingers. Carefully tidy the cuticle area without aggressively cutting or damaging living tissue. The objective is a clean surface and a neat outline, not a completely stripped nail bed.
MelodySusie’s own tutorial resources specifically cover nail and cuticle preparation, while its educational material also includes guides for nail drills and drill-bit use. If you use an e-file for preparation, restraint is essential. Use the appropriate bit at an appropriate speed and avoid lingering in one area. Natural nails are thinner than artificial enhancements, and excessive filing can weaken them. Before moving to polish, remove dust and surface residue using the preparation products appropriate for your manicure system.
Cuticle and Nail Surface Preparation
A clean nail surface helps create the neat appearance associated with professional manicures. Gently push back the cuticle area where appropriate, remove only loose nonliving tissue, and avoid cutting healthy skin simply to make the nail look larger. If you use a drill bit around the cuticle, keep your movements controlled and extremely light. The drill should refine the surface rather than carve into it.
After shaping, remove dust thoroughly. Tiny particles left around the cuticle or sidewalls can interfere with a clean polish application and make the final manicure look less refined. Take your time around the sidewalls because this is where uneven application becomes particularly obvious. A useful habit is to inspect each nail from several angles before applying color. If the shape looks balanced under bright light, the finished manicure is much more likely to look polished rather than merely painted.
How to Safely Use a MelodySusie Nail Drill
It is a skill, not a shortcut, to learn how to use an electric nail drill. Hold the handpiece comfortably and avoid gripping it tightly. Select the correct bit for the task, begin at a conservative speed, and allow the rotating bit to do the work rather than pressing aggressively. Keep the bit moving and avoid staying in one place long enough to create heat. Your movements should be deliberate, smooth, and controlled.
MelodySusie’s educational resources include dedicated material on drill controls and maintenance, and its professional drill listings emphasize features such as variable speed, forward/reverse control, and low-vibration operation on certain models. These features can make learning more manageable, but no machine eliminates the need for proper technique. If you are completely new to e-files, practice on artificial tips or other appropriate training surfaces before attempting detailed work on your natural nails. Never use a drill to diagnose or treat a nail condition, and stop if you encounter pain, bleeding, persistent discoloration, or other concerning changes.
Choosing and Using the Correct Drill Bit
Drill bits are not interchangeable simply because they fit the same handpiece. MelodySusie states that its nail drill bits use a 3/32-inch shank, which it identifies as an industry-standard size. The catalog includes carbide, diamond, ceramic, mandrel, sanding-band, and specialty bits. Each type has a particular role, and choosing the wrong bit can make a simple task unnecessarily difficult.
One helpful starter tip is to do things one step at a time. Understand its intended surface, recommended direction, appropriate speed range, and how much pressure it requires before adding another bit to your routine. Do not assume that a bit described as “professional” is automatically suitable for every beginner task. Technique determines results. After use, bits should also be cleaned according to appropriate sanitation procedures. MelodySusie’s bit guidance recommends brushing away debris, cleaning with soap and water, and then disinfecting according to the appropriate process; it specifically mentions 75% alcohol or other disinfectants for its cleaning guidance. Always follow the manufacturer’s cleaning instructions for the particular bit and consider professional sanitation standards if tools are being used on multiple people.
Applying Gel Polish Like a Professional
Once preparation is complete, polish application becomes much easier. Start with a thin base layer if your chosen system calls for one, keeping product away from the surrounding skin. Cure according to the product instructions. Then apply a thin color coat rather than trying to achieve full opacity in one thick layer. Thin layers are easier to control, easier to cure properly, and less likely to flood the cuticle area.
The top coat is subject to the same rule. Keep the application neat and consistent, cap the free edge where the product system recommends it, and cure for the specified time. If gel touches the skin, remove it before curing rather than allowing it to harden around the nail. Clean application is one of the simplest ways to make a home manicure look professionally done. Imagine painting a miniature wall: several controlled coats generally create a cleaner result than one enormous layer.
Details that are simple to miss will determine the outcome. Check the sidewalls, inspect the cuticle line, and look at the nail from above and from the side. A professional-looking manicure is not necessarily one with elaborate nail art; sometimes it is simply a perfectly balanced shape, an even color, and a clean perimeter. That understated precision is what makes the result look expensive.
Curing Gel Polish Correctly
Curing deserves patience because it is not an area where shortcuts are particularly helpful. Use the lamp and curing schedule recommended for your gel system. MelodySusie’s lamp range is designed around UV/LED curing and includes products intended for different usage scenarios, including beginners and advanced DIY nail artists. Keep the hand positioned as directed and make sure your fingers are not bunched together in a way that blocks light from reaching the polish.
Do not assume that a gel is properly cured simply because the surface feels dry or because it has stopped looking wet. Follow the product’s instructions.Instead of adding extra product right away, examine the entire system if you encounter soft layers, wrinkles, repetitive lifting, or other curing-related issues. Thickness, compatibility, lamp positioning, lamp condition, and curing time can all influence results. When in doubt, the manufacturer’s instructions should take priority over random timing advice found online.
Creating Different Salon-Style Nail Looks at Home
Once you have mastered preparation and basic gel application, you can experiment with different looks. A classic nude manicure is an excellent starting point because imperfections are easy to spot and therefore help you improve technique. French tips introduce another challenge because the smile line demands symmetry. Builder gel or extensions can create additional structure, but they require more advanced preparation and product knowledge than a basic gel manicure.
Your MelodySusie setup can evolve with your skills. Someone starting with natural nails might begin with a simple drill, basic bits, and a compact UV/LED lamp. As confidence increases, adding specialized bits, stronger equipment, a dust collector, or more advanced lighting can make detailed work more efficient. The brand’s current range includes both beginner-oriented and professional categories, so you can expand without necessarily replacing your entire setup.
Try to master consistency before complexity. A simple one-color manicure with flawless shaping and clean application will usually look more professional than complicated nail art applied unevenly. Think of nail design as building a house: the decoration comes last, while the foundation determines whether everything looks stable. Once your foundation is strong, experimenting becomes much more enjoyable.
Nail Drill Maintenance and Cleaning
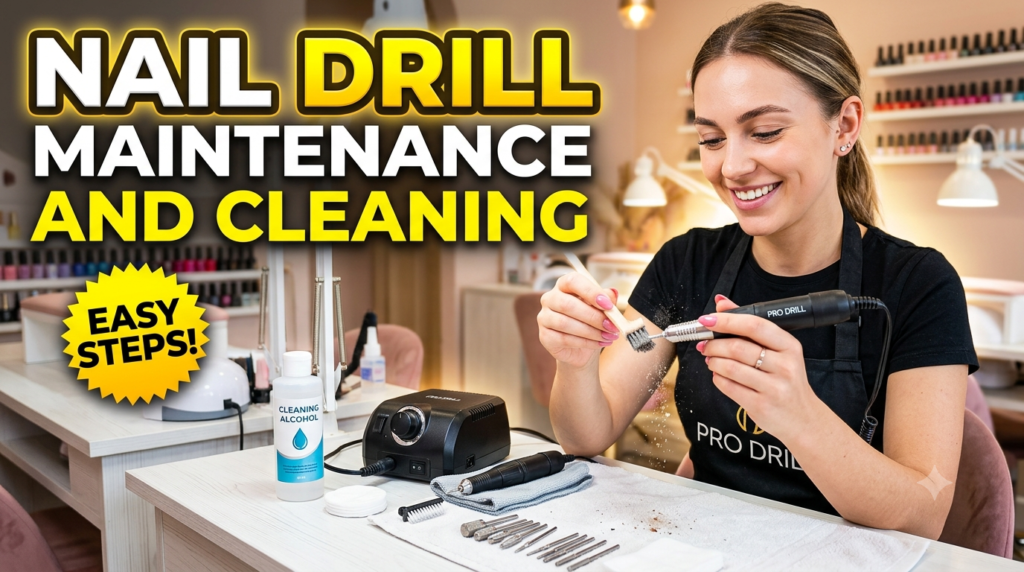
Taking care of your equipment is part of creating better manicures. Nail dust can accumulate around a drill handpiece, bits can become dirty or worn, and moving components may eventually need attention. MelodySusie’s tutorial resources specifically include a nail drill care guide focused on maintenance and peak performance. After each session, remove visible dust and debris according to the manufacturer’s cleaning instructions. Do not immerse electrical components unless the manufacturer explicitly says they are designed for it.
Drill bits deserve particular attention. MelodySusie recommends brushing away dust and grime, cleaning with soap and water, and following with an appropriate disinfection process for its bits. Keep clean bits separate from used bits so you do not accidentally mix sanitized equipment with tools that still need cleaning. Replace damaged or excessively worn bits instead of trying to force them through a job they can no longer perform efficiently.
Your lamp also deserves routine care. Keep the interior reasonably clean, remove product residue safely, and inspect the curing area regularly. If the lamp becomes damaged or behaves unusually, stop relying on it until you have checked the manufacturer’s guidance. Good maintenance is not glamorous, but it is one of the easiest ways to protect your investment and keep your manicure routine consistent.
Read More:-
How Does Strikingly Simplify the Website Building Process?
Building Your Dream Website with Site123
Boost Your E-commerce Strategy with YITH Plugins
Maximize Your Customer Engagement with LiveAgent’s Features
Why STRIPO is Essential for Digital Product Marketersa
Common DIY Nail Mistakes to Avoid
One of the biggest mistakes beginners make is believing that more pressure produces better results. It does not. Whether you are filing, using a drill, or applying polish, control generally matters more than force. Another common problem is rushing preparation. Skipping surface preparation, leaving dust behind, flooding the cuticle, or applying excessively thick gel can make the manicure look untidy even when the color itself is beautiful.
Another mistake is purchasing equipment based only on maximum specifications. A 35,000RPM drill may sound impressive, but if you cannot control it comfortably, its maximum speed is not especially useful. MelodySusie’s current lineup ranges from compact and beginner-friendly equipment to professional-level tools, which reinforces the importance of matching the product to your skill level and intended use.
Finally, avoid using a nail drill to solve problems that require professional assessment. Pain, swelling, bleeding, suspected infection, unexplained nail separation, or significant changes in nail color or texture are not ordinary manicure issues. Stop cosmetic work and seek qualified medical or professional advice when appropriate. A great manicure should enhance healthy nails, not hide a problem that needs attention.
Building a Professional Home Nail Station
A dedicated workspace can transform your manicure routine. Start with a stable table, comfortable chair, strong lighting, and enough room to place your drill, lamp, polish, and preparation products without crowding everything together. If you frequently use an e-file, a dust collector can help make the workspace more comfortable and easier to clean. MelodySusie currently offers dedicated nail dust collectors, including rechargeable and professional-oriented models.
Lighting is equally important because nail work is precision work. Shadows can make a smooth surface look uneven and can hide polish near the sidewalls. MelodySusie’s current catalog also includes manicure-focused lighting, including the S-Pro29G table lamp with a small nail lamp. You do not necessarily need a specialized lamp immediately, but you should have enough illumination to clearly see the nail surface and surrounding skin.
Organization saves time. Keep your most frequently used bits together, separate clean and used tools, arrange gel colors so that you can find them quickly, and keep your lamp and drill cords from becoming tangled. As your collection grows, storage becomes surprisingly important. A tidy station lets you focus on technique rather than searching for equipment halfway through a manicure. The result is not only more efficient but also more relaxing.




Conclusion
Creating salon-quality nails with MelodySusie is less about finding one magical product and more about building a reliable system around preparation, precision, curing, and maintenance. MelodySusie’s current range gives home users access to nail drills, drill bits, UV/LED lamps, dust collectors, gel products, and other tools that can support everything from simple manicures to more advanced nail work. The brand’s educational resources also provide tutorials covering drill controls, nail preparation, drill-bit selection, and equipment care, which can be useful as your technique develops.
The smartest approach is to start with the basics and improve gradually. Learn to shape consistently, prepare the nail gently, control your drill, apply thin layers, cure products according to their instructions, and maintain your equipment after every session. Once those fundamentals become second nature, nail art and more advanced techniques become much easier to explore. Whether you are a complete beginner, a regular DIY nail enthusiast, or someone building a professional home workstation, the right MelodySusie tools can become useful parts of a routine built around patience and precision.
A beautiful manicure should not feel like a race. Give each nail the attention it deserves, keep your tools clean, respect the limits of your natural nails, and focus on consistency rather than perfection. With practice, what initially feels complicated can become a comfortable beauty ritual—and your home manicure table can start feeling less like a compromise and more like your own personal nail studio.
FAQs
Q. Is MelodySusie suitable for beginners?
A. Yes. MelodySusie offers products across different experience levels, including equipment marketed for beginners, DIY nail artists, home-based nail technicians, and professionals. Beginners should prioritize controllable, adjustable equipment rather than simply choosing the highest-powered drill.
Q. What RPM should a beginner use on a MelodySusie nail drill?
A. There is no single RPM that is correct for every task. Beginners should start at a conservative speed, use minimal pressure, keep the bit moving, and adjust gradually as their technique improves. The appropriate setting depends on the bit, material, task, and experience level.
Q. Do I need both a MelodySusie nail drill and UV/LED lamp?
A. Not necessarily. A drill is useful for shaping, preparation, and working with enhancements, while a UV/LED lamp is necessary for curing compatible gel products. If your manicure routine involves regular gel polish, a suitable lamp is generally more relevant than a drill alone.
Q. How do I clean MelodySusie nail drill bits?
A. MelodySusie’s guidance recommends brushing away remaining dust or grime, cleaning with soap and water, and then disinfecting according to the appropriate process; its guidance specifically mentions 75% alcohol or other disinfectants. Always follow the cleaning and sanitation instructions applicable to your specific bit and use case.
Q. Can MelodySusie tools really help create salon-quality nails at home?
A. They can provide many of the tools used to support professional-style nail work, but equipment alone does not guarantee professional results. Technique, nail preparation, product compatibility, curing, sanitation, and practice all contribute to the finished manicure. MelodySusie’s current range spans home-use and professional categories, making it possible to build a setup that grows with your skills.